Abstract
However you back up your Informix Dynamic Server (IDS) instance, a long-standing method exists to restore a single table as at a given point in time. This is described elsewhere, but some awkward coding is required. If someone has accidentally emptied a production table, you would want a very fast way to reinstate it with minimal manual steps.
This article provides a script to help achieve that, together with setup and example usage.
Content
Links in this article not shown in full are for pages within the new IBM Documentation site:
https://www.ibm.com/docs/en/informix-servers/14.10
The test system used for this article is an IDS 14.10.FC6 Developer Edition Linux Docker container created with the image available from:
https://hub.docker.com/r/ibmcom/informix-developer-database
We will be using the standard “stores_demo” database throughout this article, which you can create using the provided dbaccessdemo script.
Using the method described in this article, you can always restore a single table as at when the last archive (instance backup) was begun. However, if you wish to restore a table at any point in time, the database containing it must have logical logging enabled. If you are not sure, use an Informix GUI tool or SQL such as this to find out:
Archives (instance) and logical log backups are saved either with the ontape or onbar tools (must use same tool for both). These also have syntax to enable logging if your database shows “is_logging 0” above.
You can configure and schedule archives using InformixHQ:
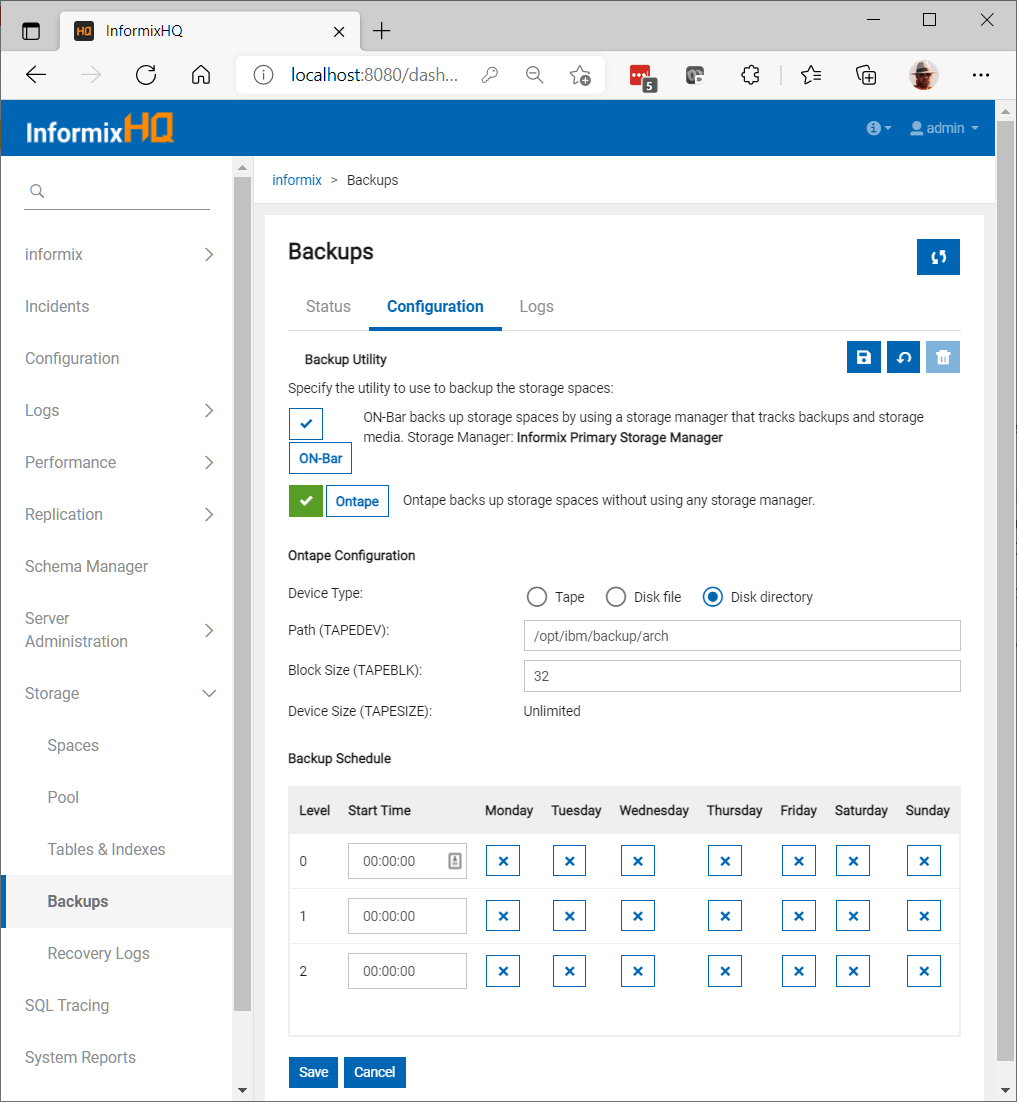
We will be using “ontape” as above. You also need to configure automated logical log backups, and may want compression:
The tool installed with IDS that supports table-level restore is archecker. There is a default configuration file (set environment variable AC_CONFIG to use a different file) which contains these lines excluding the copyright heading:
You quite likely do not need to change anything, as most other parameters that could be added take default values from your configuration of “ontape” or “onbar”.
Install the following Oninit shell script to generate “archecker” command files:
Run without arguments for help:
You should test it on your system at the earliest opportunity, so you are ready for any eventuality.
A full example follows that you can try out (some output lines removed for brevity).
Generate command file to restore data from the last level 0 archive (no time specified):
This creates or overwrites the following file:
Output from running the command given by the shell script is:
You should find 67 rows in the table again.
We will now set up a scenario for a point-in-time restore, starting with a fresh archive:
Rows in “items” can be duplicated as follows (some lines removed from output for brevity):
For a point-in-time restore, we need the recovery point to be in a logical log backup:
We are also going to demonstrate restoring rows into a different non-existent table:
This creates or overwrites the following file:
Output from running the same command given by the shell script is as before but with the following extra lines:
You should find 134 rows in the new table.
If you supply a date/time that passes basic checks in the shell script but is still invalid, “archecker” is not very user friendly:
The log file will tell you more in the event of any failure:
Note that “archecker.sh” only extracts the “create table” statement from “dbschema” output: anything else, such as “create index”, would be a syntax error. If that includes constraints, they are disabled in any new table created by “archecker”:
If there is a very large number of rows to be extracted, you may want to specify that the target table should be unlogged, which will be faster and possibly avoid a “long transaction aborted” failure. Edit the generated “archecker.script” changing the second “create table” to “create raw table”, and remove any “primary key” clause.
To replace the original table with the new one after restoring data into it:
You will then need to:
- enable any constraints marked as disabled in “archecker.script”;
- execute the table schema to create indexes and other constraints;
- locate and run other relevant SQL from the database schema.
Step 3 above includes GRANT, CREATE VIEW, and CREATE SYNONYM statements.
It is obviously simpler to restore data into the original table, which you can TRUNCATE beforehand and temporarily alter to type RAW (without referential constraints) for large tables. Disabling indexes and constraints would also make it quicker.
If you only want to restore a subset of rows that have been deleted, that could be done with a statement such as this:
Caveats
- Because “archecker” does not read logical logs from dbspaces, you may need to switch to the next logical log and ensure all are backed up before you attempt a restore to a recent point in time.
- If you drop a table by accident, “archecker.sh” won’t work unless you recreate the empty table first. You should therefore regularly save an up-to-date definition of each database with “dbschema -d database -ss -q filename“.
The overview documentation page also lists these restrictions:
- The archecker utility is not JSON compatible. If you try to use the utility with target tables that contain columns of JSON or BSON (binary JSON) data types, the utility will abort and return an error message. (Besides data-restore contexts, this limitation affects all archecker operations on tables with JSON or BSON columns.)
- You cannot logically restore a table when restoring smart large objects. Only a physical restore of BLOB or CLOB objects is supported for table-level restore operations using the archecker
- You cannot restore data from a remote device.
- You cannot use a shared memory connection when performing a table-level restore.
Conclusion
This article contains all you need to prepare your system for a single table restore as at any given point-in-time covered by recent backups, which would then be very easy to achieve.
Disclaimer
Suggestions above are provided “as is” without warranty of any kind, either express or implied, including without limitation any implied warranties of condition, uninterrupted use, merchantability, fitness for a particular purpose, or non-infringement.